Microsoft Word Basics

In our age of bitcoins and HYIPs, one should not forget about the good old Word. Let's go back to the beginning and cover the basics of working in Word. For those who, by the nature of their work, often work with text editors, there are many questions regarding those functions that are rarely used when creating a regular document, but can be extremely useful if you are preparing a report, abstract, term paper or some then another job for public viewing. How to make a table of contentsIn a text editor from Microsoft, there are several ways to make the table of contents of the document. The first involves the use of parts of text that already exists in a paragraph. The second is to emphasize the first words in a paragraph with heading styles. Regardless of whether you have a ready-made document to which you need to set the content, or you will do it as you write, to create a table of contents, you must perform the following procedure.
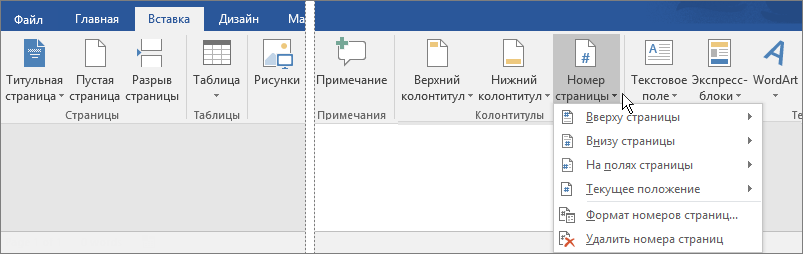
 If you have Microsoft Word 2007 or 2010, the path will be slightly different. In the toolbar, select the “Links” tab and then the “Table of Contents” section. You will see the same dialog box as described in step 5. 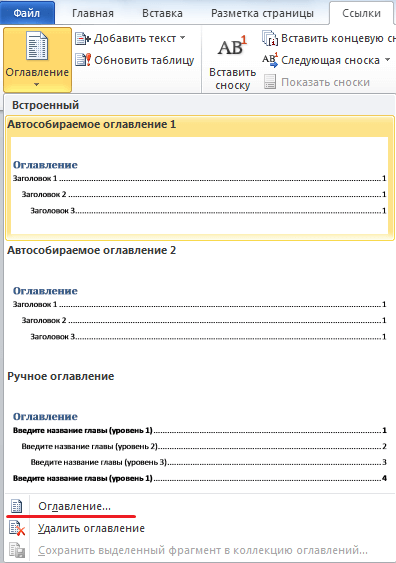 Set options and select a portion of the text to include in the content. How to make paginationWhen working with a Microsoft Word document, you may need to create numbering. There are three scenarios for this task:
As a rule, the title information is located on the first page. It is not accepted to number it. Therefore, we will consider the most common scenario: counting from the second page. There are a few simple steps to complete this task.
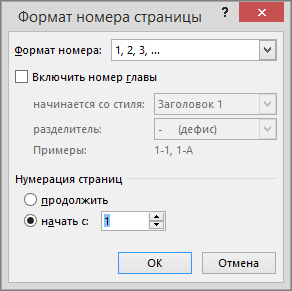 Close the headers and footers window.  The numbering will be set according to the specified parameters automatically. How to make 2 pages on 1 sheetThis option may be needed to print a document. In order for two pages to be printed on different sides of one sheet, you need to follow the steps below.
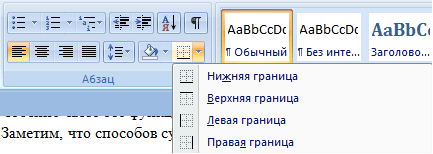
You can send your document for printing. It will be executed according to the specified parameters. How to make a borderIt is possible that when working with your document, you will need to enclose the text in a frame. This can be done in a couple of simple steps.
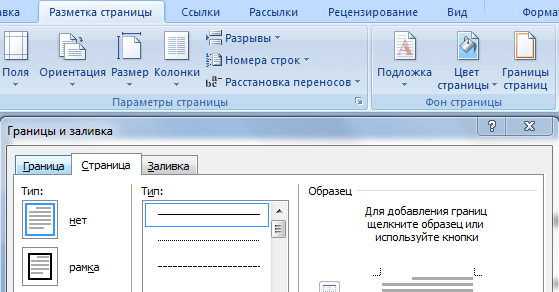 After you set the required parameters and click the "Ok" button, the frame will appear in the document automatically. How to write under the lineSometimes a document requires a signature column. In this case, an option such as an inscription under the line is required. This can be done by creating a table.
 After that, a cell for filling will appear in your document. It will look like a line, under which you can make the desired inscription. How to make semicircular textTo use the option to position text in a circle, you must use WordArt shapes. To get the desired effect, just follow a simple algorithm of actions.
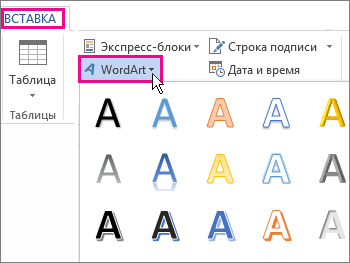
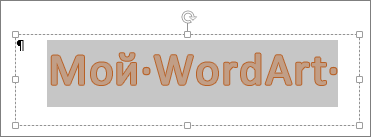
You will see a list of transformation types. Select a semicircle from the available options.  How to make landscape page layoutIn Microsoft Word, you can set the page orientation (vertical or horizontal) both for the entire document and for a separate part of it. To select landscape layout you need to follow a simple sequence of steps.
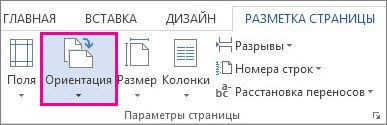 If you want to make a separate orientation only for a part of the document, then you need to select that part of the document for which you need a separate markup and go to the markup tab. Here, bring up the page setup dialog.  In the "Orientation" section of the dialog box that appears, select the desired layout option (portrait or landscape) and check the "Apply to selection" box. 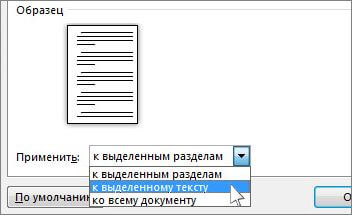 After that, the desired fragment will be automatically converted to a landscape page, and the rest of the document will remain unchanged. The Topic of Article: Microsoft Word Basics. |